



Confirm Where Rural Road Lighting Is Needed
A village main street, an isolated junction and a road between settlements serve different users. Begin with a community needs assessment: who walks, cycles or drives here, at what times, and where visibility becomes difficult? Record access to homes, clinics, schools, markets and transport stops. Nighttime visibility should be linked to an identifiable task, rather than a general request for the brightest lamp.
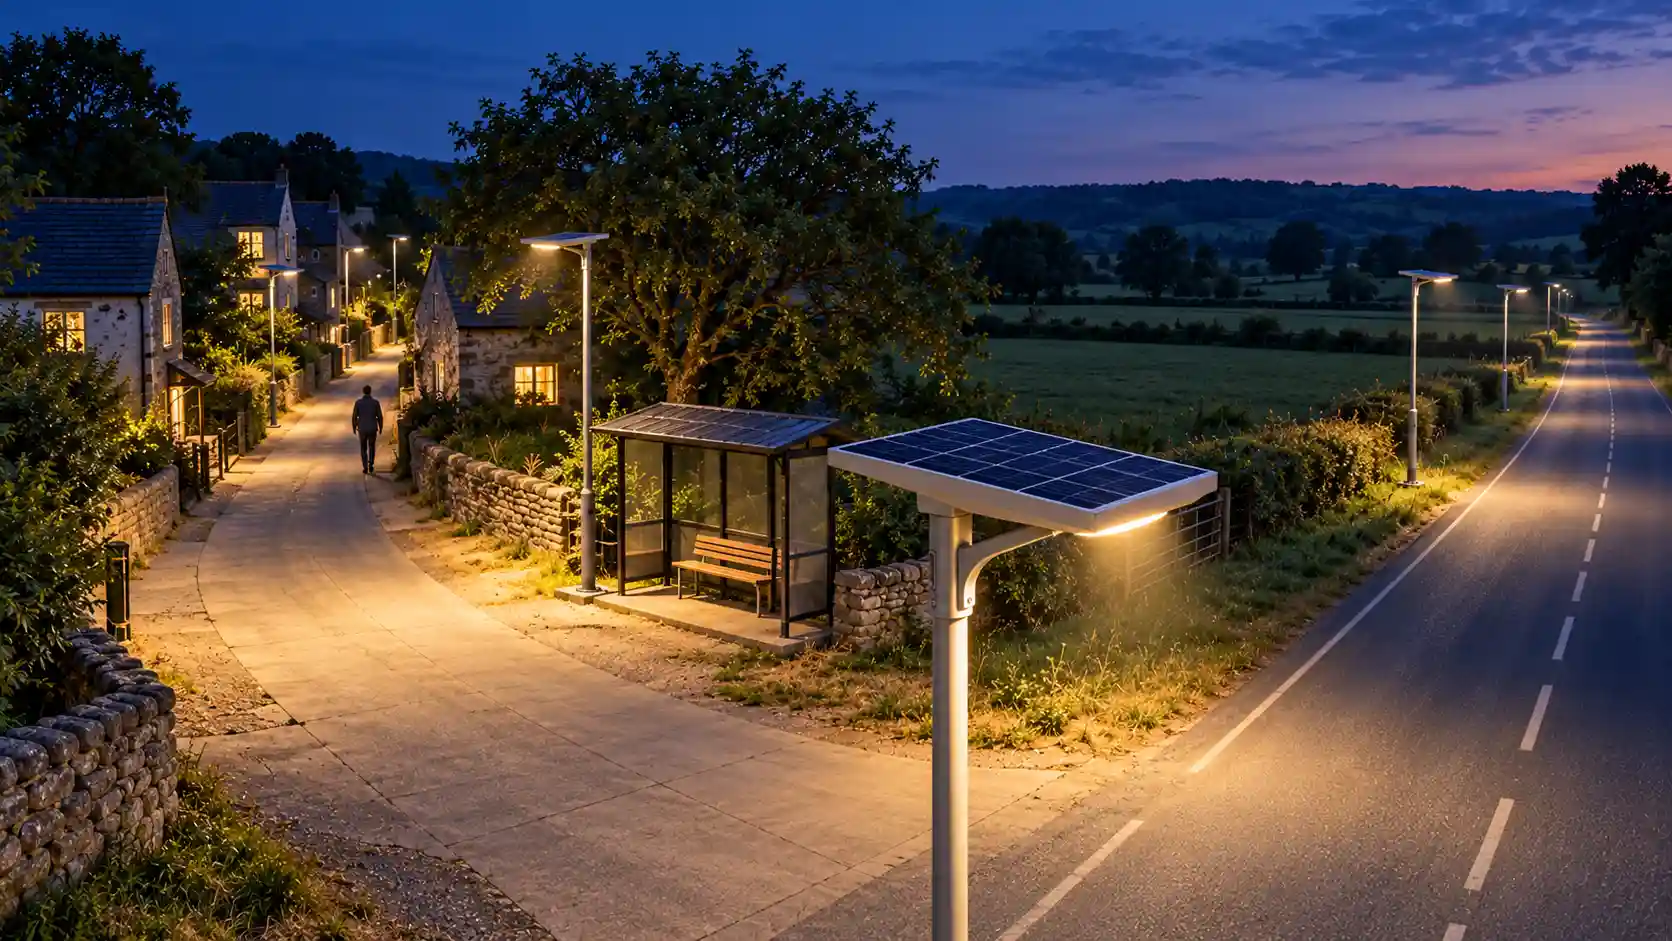
Not every rural road needs continuous lighting. The FHWA Lighting Handbook distinguishes partial or beacon lighting at rural intersections from situations where pedestrian or cyclist activity can justify continuous coverage. This is US guidance, not a universal design rule. Confirm the applicable requirements with the project authority and lighting designer. [1]
For village solar street lights, write down the intended service: the areas to illuminate, operating periods, visibility criteria and limits on light entering homes or sensitive surroundings. This becomes the basis for equipment selection and later acceptance.
Survey the Road and Identify Priority Zones
Combine a daytime site survey with an evening walk-through and local feedback. Map road width, bends, junctions, walking routes, traffic activity and existing lighting. Record trees, buildings, slopes and seasonal vegetation that may shade panels. Also note flood exposure, ground conditions, property boundaries and access for installation vehicles.
Road section or location | What to check | Planning output |
|---|---|---|
Village junction or transport stop | Vehicle approach, crossing movements, waiting areas and permitted pole positions | Define critical visibility areas and assess junction lighting separately. |
Residential village street | Walking routes, evening activity, windows, shading and existing lights | Set coverage, operating hours and light-trespass limits for this section. |
Clinic, school or market access | Actual after-dark use, entry points and pedestrian–vehicle interaction | Confirm the access route and times requiring illumination. |
Road between settlements | Nighttime use, bends, isolated hazards and maintenance access | Decide where targeted or continuous lighting is justified. |
Use a marked route map and a preliminary pole schedule with location IDs. Keep unresolved items visible: a disputed boundary, an unconfirmed crossing or an inaccessible installation point can change the layout. Local feedback informs the brief; the responsible project team still approves the technical design.
Define Lighting Performance and Develop a Layout
Set the lighting criteria before selecting LED wattage. Depending on the road category and applicable requirements, the designer may need to assess illuminance or luminance, lighting uniformity, glare and pedestrian visibility. A luminaire’s wattage or total lumens alone cannot establish the result on the road.
Review model-specific IES or equivalent photometric data against the proposed pole height, arm, orientation and road geometry. A calculation in DIALux or another suitable tool should represent the actual installation. One-side installation, opposite-side layouts and staggered installation need separate checks; curves and junctions may need different arrangements from straight sections.
Check the permitted pole positions against both the lighting layout and solar exposure. Moving a pole out of shade can change coverage or clearance. Resolve that trade-off before approving the quantity. For the detailed geometry and calculation inputs, use our solar street light pole height and spacing guide.
Check Seasonal Solar Energy and Operating Hours
Off-grid road lighting needs a defined nightly operating schedule. Record the relevant night length, dimming stages and any additional loads, such as communications or CCTV. Adaptive lighting must still deliver the agreed service. Where motion sensors are proposed, assess detection coverage, false triggers and the required operating case rather than assuming very little traffic.
Ask the supplier to check the design month or relevant low-solar season, using site-specific solar resource and shading assumptions. Panel nameplate watts are not daily harvested energy. A larger battery also needs enough charging capacity and suitable conditions to recover after a low-solar period.
Define battery autonomy in operational terms: the approved lighting program, the period without charging, usable storage and the recovery condition. A claim of “three rainy days” is incomplete without those assumptions. Our guide to sizing a solar street light battery explains the load, usable-energy and charging checks behind this decision.
Choose a Serviceable Solar Street Light Configuration
An all-in-one solar street light integrates major components into a compact assembly. An all-in-two design commonly separates the panel from a light head containing the battery and controller, while a split solar street light allows a more distributed arrangement. Naming varies, so confirm component positions in the supplied drawings.
Choose the architecture around verified capacity, panel positioning, transport and maintenance access. Check how the battery and controller are reached, what lifting equipment is needed, and which replacement parts are compatible. Neither integration nor a split layout guarantees brighter light or longer autonomy. Compare all-in-one and split solar street lights for the detailed trade-offs.
Plan Civil Works, Installation and Delivery
Solar street light installation for rural roads still requires a coordinated site plan. Obtain permission for pole locations, identify underground services and confirm traffic clearances. Pole, bracket and foundation design must reflect the actual equipment, wind exposure, soil and drainage conditions. Do not select a foundation from a generic lamp-wattage chart.
Transport: confirm packed dimensions, weights, unloading access and the vehicle that can reach each section.
Construction: allocate excavation, foundations, lifting, installation tools and safe working arrangements.
Receiving: check components, connectors, quantities and shipping damage against the approved order.
Security and service: review anti-theft measures, weather protection and access for authorized replacement work.
For remote-area lighting, a system that fits the shipping container may still be difficult to move along the final access track. Confirm assembly methods and any storage or pre-installation charging requirements with the manufacturer. Define who supplies the poles, civil works, cables and installation labour before comparing offers.
Compare Whole-Project Costs and Phase the Rollout
Compare rural solar street lighting project cost on the same service requirement and scope. Include equipment, poles, foundations, freight, local delivery, installation, commissioning, spare parts, inspections, component replacement and end-of-life handling. Separate initial expenditure from later costs and state the period and assumptions used for comparison.
If grid extension or grid-tied LED lighting is a realistic alternative, compare it using the same coverage and operating hours. Include connection, trenching and electricity costs where applicable, alongside the maintenance needs of each option. Solar avoids reliance on a grid connection at each independent light, but that does not establish the lowest total cost for every road.
For phased deployment, agree on the essential service first, then choose a representative pilot covering relevant shading, access and usage conditions. Define acceptance criteria before ordering the next phase. A short demonstration in clear weather can reveal installation or control problems; it cannot alone prove winter performance or rainy-season autonomy.
Define Commissioning, Maintenance and Handover
Include the commissioning checklist in the procurement brief. Check installed positions and orientation, fastening, protected connections, controller settings and operation in the approved mode. Measure nighttime lighting against the agreed method and conditions; keep calculation results separate from site measurements. Record charging and storage information available from the supplied system.
Handover item | Evidence to retain | Responsibility to assign |
|---|---|---|
Installed configuration | As-built pole schedule, location IDs, component models and approved drawings | Installer records; project owner accepts. |
Lighting and operation | Nighttime check results, measurement conditions and approved operating settings | Project designer defines criteria; commissioning team checks. |
Inspection and service | Cleaning/inspection instructions, compatible spares and replacement procedures | Named maintenance provider with trained personnel. |
Fault reporting | Asset register, reporting channel, warranty terms and escalation arrangements | Owner receives reports; contracted parties resolve faults. |
Rural street light maintenance needs an accountable owner, a workable inspection plan and access to compatible parts. Residents can report faults; trained personnel should carry out technical repair. Base cleaning intervals on local soiling and the product instructions. Remote monitoring can help where supported, but confirm network availability, data costs and an offline reporting method.
The handover should make the next action clear: who receives a fault report, who diagnoses it, who authorizes replacement and who pays under the agreed terms. Do not leave those decisions until a village light has failed.
Prepare a Rural Road Lighting Project Brief
A rural road solar lighting RFQ is more useful when every bidder receives the same route information and required service. Mark uncertain inputs as “to be confirmed” rather than replacing them with unsupported assumptions. Use the checklist below to assemble the brief.
Information to prepare | What the brief should contain |
|---|---|
Location and route | Country, coordinates, route map, road width and priority sections. |
Lighting task | Users, activity periods, applicable design criteria and sensitive boundaries. |
Layout inputs | Existing poles, permitted positions, proposed heights and relevant drawings. |
Energy and controls | Operating program, extra loads, low-solar conditions, autonomy and recovery requirements. |
Environment and installation | Shade, temperature, corrosion, wind, flood/soil inputs, access and available equipment. |
Commercial scope | Quantities or phases, delivery location, installation boundary and requested quotation scope. |
Evidence and approvals | Model data, photometry, energy assumptions, applicable test reports and approval responsibilities. |
Handover and service | Acceptance method, asset records, spare parts, maintenance owner and warranty arrangements. |
Ask each solar street light supplier to link technical submittals to the offered models and identify exclusions in the bill of quantities (BOQ). For EPC contractors, this also clarifies interfaces between supply, civil works and commissioning. Our solar street light specifications checklist covers the detailed product documents.
Efficiency for Access provides a useful procurement framework for checking components, system requirements and supplier evidence. Its solar streetlight recommendations concern public spaces and exclude roads primarily used by motor vehicles; they are not a substitute for roadway lighting design. [2]
Frequently Asked Questions
Do all rural roads need continuous lighting?
No. Assess nighttime activity, critical locations and applicable requirements. Some routes may call for targeted junction or access lighting; others may need continuous coverage. Confirm the decision with the responsible project team before calculating lamp quantities.
Where should a village prioritize solar street lights when the budget is limited?
How many solar street lights are needed for one kilometer of rural road?
Can solar street lights serve rural roads without grid electricity?
Who should maintain village solar street lights after handover?